There are tons of tools out there for editing images. Some are good, some are, well, meh. As someone who has worked in digital marketing for a decade, I have come to trust some favorites.
In this week’s Marketing Monday, I showed how to use most of the working elements in the free editor part of Pixlr. I love Pixlr and have used it for quite some time to quickly edit, resize or adjust images. Sometimes I just need to do something simple, and opening Photoshop is more than I need. If you also use Photoshop, you may have experienced its occasional sluggishness as well.

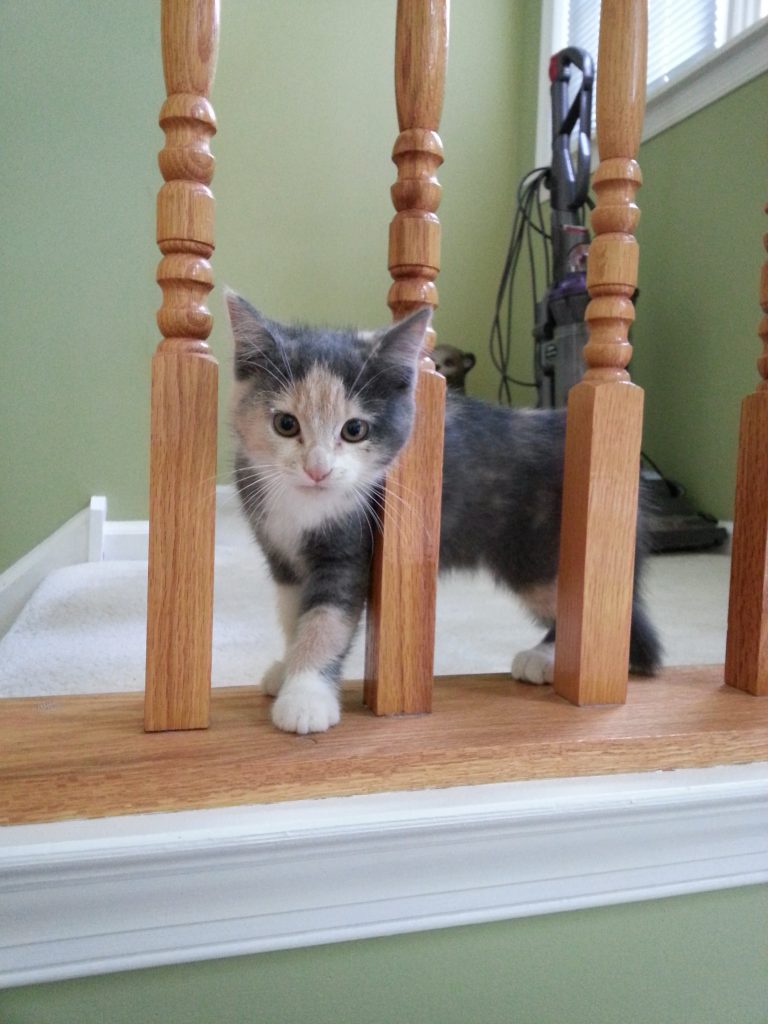
You’ll see in the video that I take horrible photos. The example to the right is a photo of my sweet kitten, Minnie (she’s all grown up now), has an ugly vacuum cleaner in the background. How stupid is that? But I’m beginning to figure out how to stage images better in the first place to reduce the need to edit.
How to Get Started with Pixlr
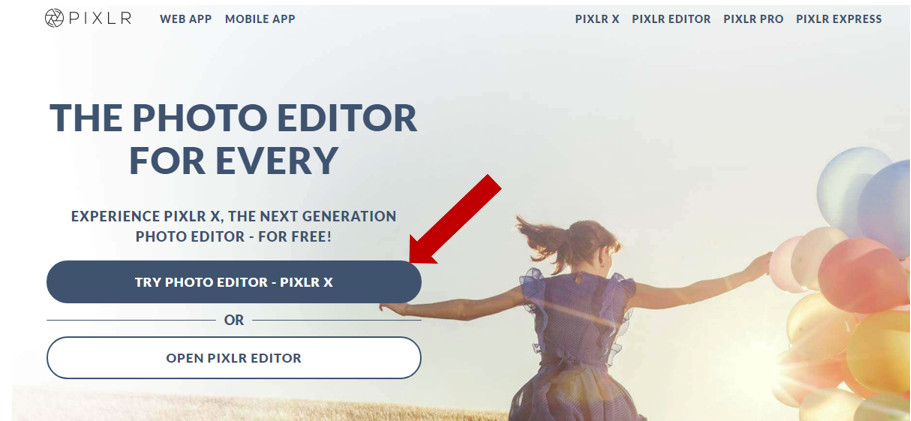
From the home page, click on “Try Photo Editor – Pixlr X”. It’s free and easy to use, yet gives you lots of options. Ignore the other links – some of them are difficult to use and will only befuddle you.

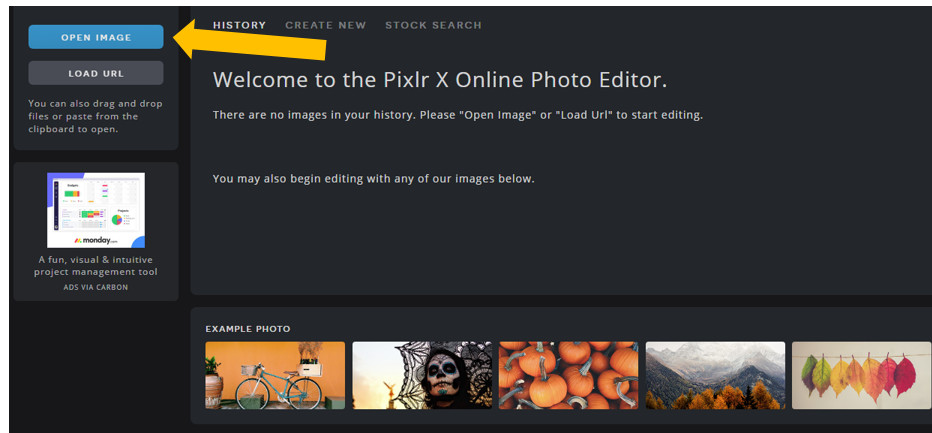
Next, you can upload your own image, or try one of the sample images at the bottom of the page. Once you have loaded your image, just watch the short video to learn how some of the elements work or play around.

Note: You can always undo something if it doesn’t turn out the way you had planned.
One Last thing…
You can’t break it! So go ahead, have a fun time! Then load your finished masterpieces to Facebook or any favorite social sharing site!

